If you can measure the conversion rates of your online partners, you can separate what works from what does not. Adding a third-party tracking pixel to Google Tag Manager is one of the simplest ways to achieve this.
![]()
What Does a Tracking Pixel Do?
A tracking pixel lets you see exactly which consumers purchase from you, how much they spend, and which third-party source they came from. Combined with proper analytics, it gives you the data you need to make informed decisions about your marketing spend. For a broader look at campaign tracking, see our post on how to track third-party campaigns using analytics.
Five Steps to Add a Tracking Pixel in Google Tag Manager
Step 1: Create a new tag
Log in to Google Tag Manager and click New Tag.
Step 2: Choose Custom HTML Tag
In the Tag Type dropdown, select Custom HTML Tag.
Step 3: Paste your pixel code
Paste your conversion pixel code into the HTML box. You can include any valid HTML or JavaScript in this field. Your third-party partner will supply the pixel code for you to use here.
Step 4: Set your trigger
Click Continue. You will be asked which pages should trigger the pixel.

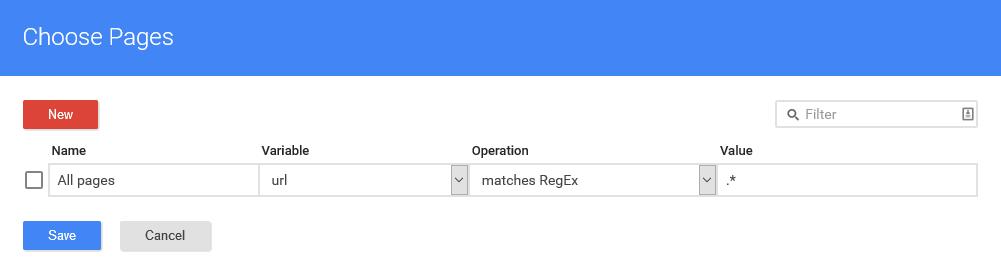
Step 5: Select the correct pages
Choose Some Pages and enter the URL of your checkout confirmation or success page. If you have multiple confirmation pages, create a separate trigger for each one.
Once your triggers are set, publish the tag in the usual way. You can now track exactly which third-party sources drive purchases and measure their true conversion value.
Start Measuring What Matters
Third-party tracking gives you the evidence to invest confidently in your best-performing partners and cut what is not working. Explore our digital marketing solutions to see how LMG helps businesses track and optimise their campaigns, or get in touch to find out more.